How to Deploy Your Code to Heroku The Easy Way: The Step by Step Guide.

I am a technical writer obsessed with breaking down complex concepts into easy-to-understand bits.
Introduction
Every developer loves to test out the capabilities of their codes in real time because this helps them perfect their code and improve their development quickly. Deploying these projects in real-time could be expensive for a test development that will need to be reconfigured later on based on issues that may arise. However, different platforms offer free services, such as Heroku, which has been helpful for developers who know how to use them. For this guide, we assume the code you want to push to Heroku is node.js.
What is Heroku?
Heroku is a cloud-based platform for developers who wish to bypass infrastructure headaches. It is built as a platform as a service(PaaS) that has support for most programming languages. The features of the platform and its various language support have made it one of the most used worldwide.
It has incredible architecture, and a distinctive domain is given to applications deployed and run on it. Despite its reputation, Heroku is the most widely used worldwide by developers due to its features; deployment could be a hassle for those who don't know an easy way out.
Deploying on Heroku The Easy Way
Using Heroku has different advantages, and despite its flexibility in terms of the number of languages and frameworks it supports, there are a few conventions you must abide by.
Before we go on with the steps, you must have created a Heroku account and a Github accountand installed its command-line interface(CLI) for your specific operating system.
Step 1: Create Myapp
Let's assume the app you wish to create is called Myapp, create a new folder in your local machine, and give it your app's name.
After it's been done, you should create a new file for your package.json code and paste the code below into it. Remember to substitute the name of your app in "name": "name of your app."
{
  "name": "myapp",
  "version": "1.0.0",
  "description": "node app ",
  "main": "app.js",
  "scripts": {
  "start": "node app.js"
},
  "repository": {
  "type": "git",
  "url": ""
},
  "author": "",
  "license": "ISC",
  "bugs": {
  "url": ""
},
  "homepage": ""
}
After you have created the file containing your package information, create a new one called app.js and paste the code below:
const http = require('http');
const port = process.env.PORT || 1000

const server = http.createServer((req, res) => {
  res.statusCode = 200;
  res.setHeader('Content-Type', 'text/html');
  res.end('<h1>Hello World</h1>');
});

server.listen(port,() => {
  console.log(`Server running at port `+port);
});
The above code gets you an assigned port on the Heroku cloud, which is needed to start your app and have it running. Also, note that this is a simple example of a "Hello World" app; your app.js file should include the code of the app you wish to create. In addition, the code const port = process.env.PORT || 1000 is crucial because it gives your app a port to work with.
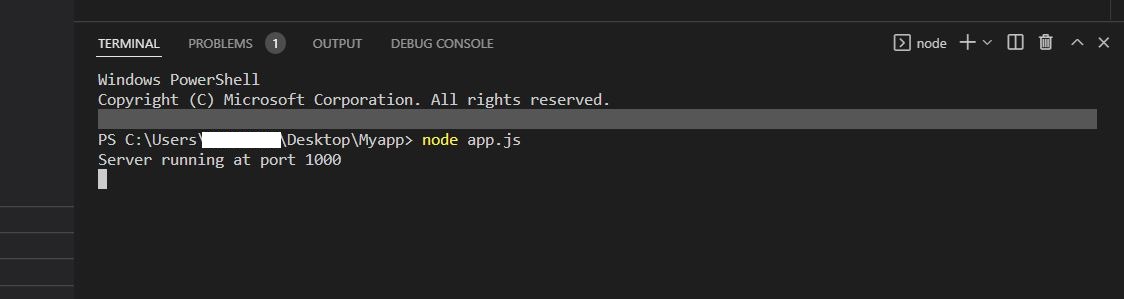
After pasting the above code in your app.js file, under it, run the following command in your terminal in the same folder:
node app.js
You will get the following in return showing you the port at which your app is running:
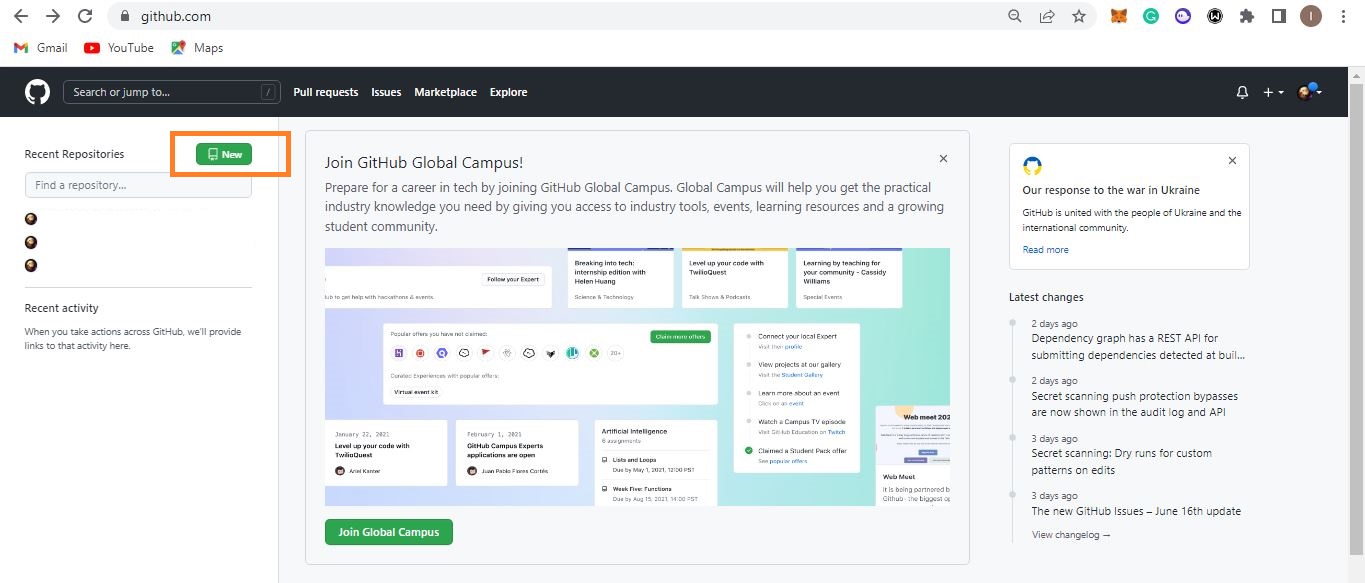
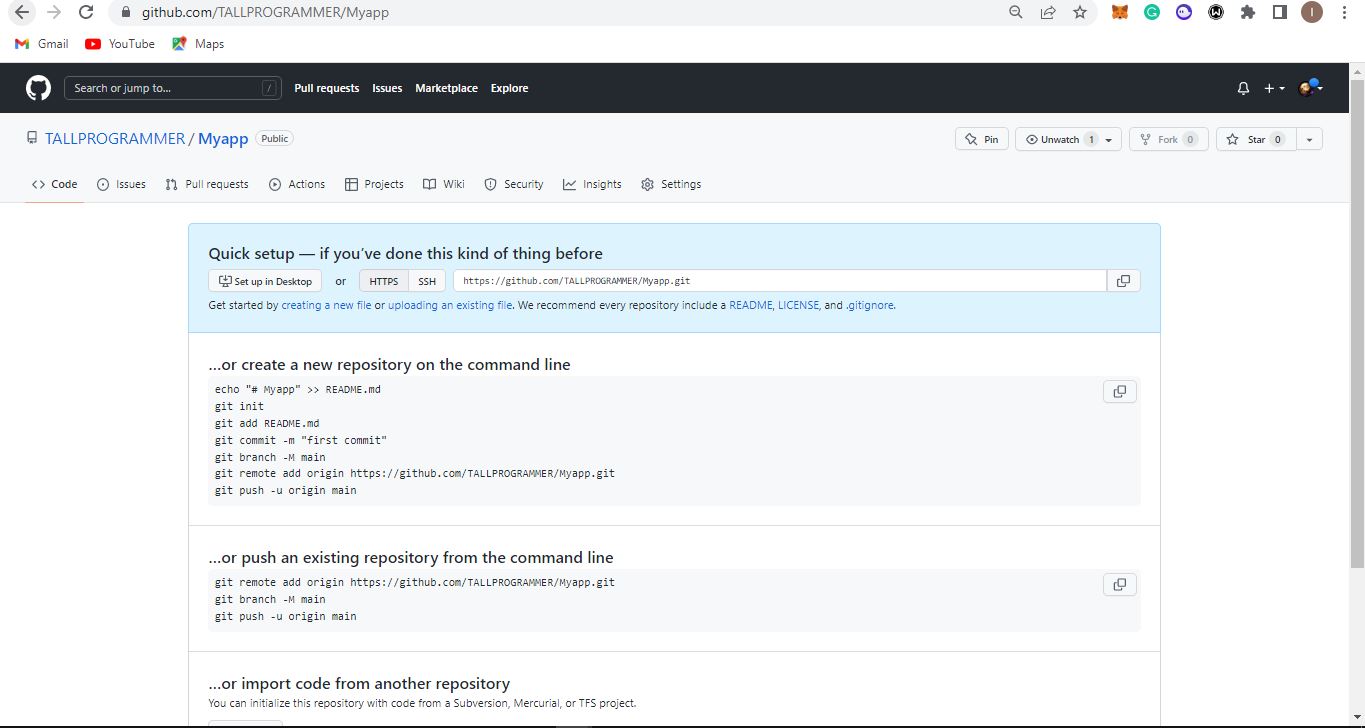
Step 2: Create a Github Repository and Push Your Code
We assume you have already created a Github account. Login to your profile and click on new in your dashboard:
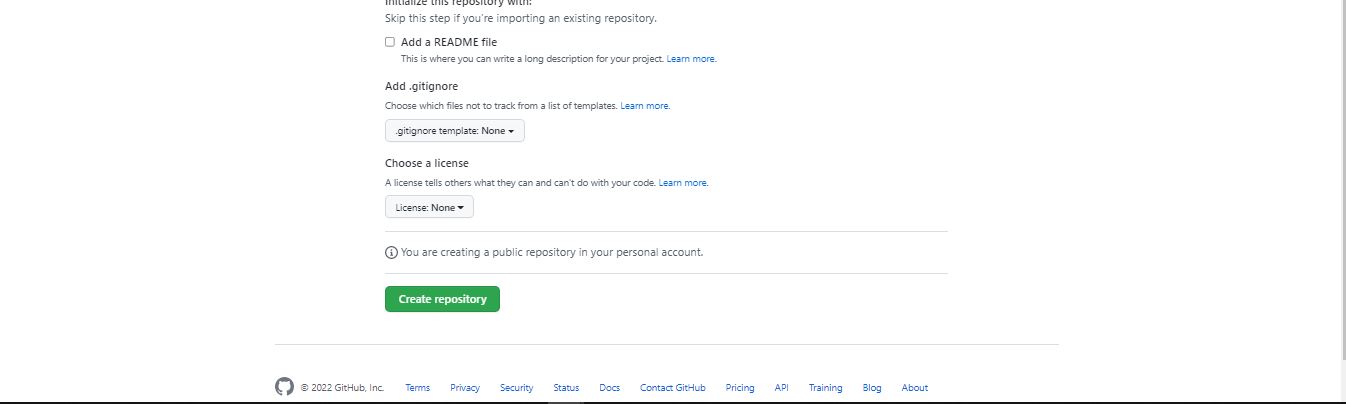
After you have done so, you should get the following, name the repository:
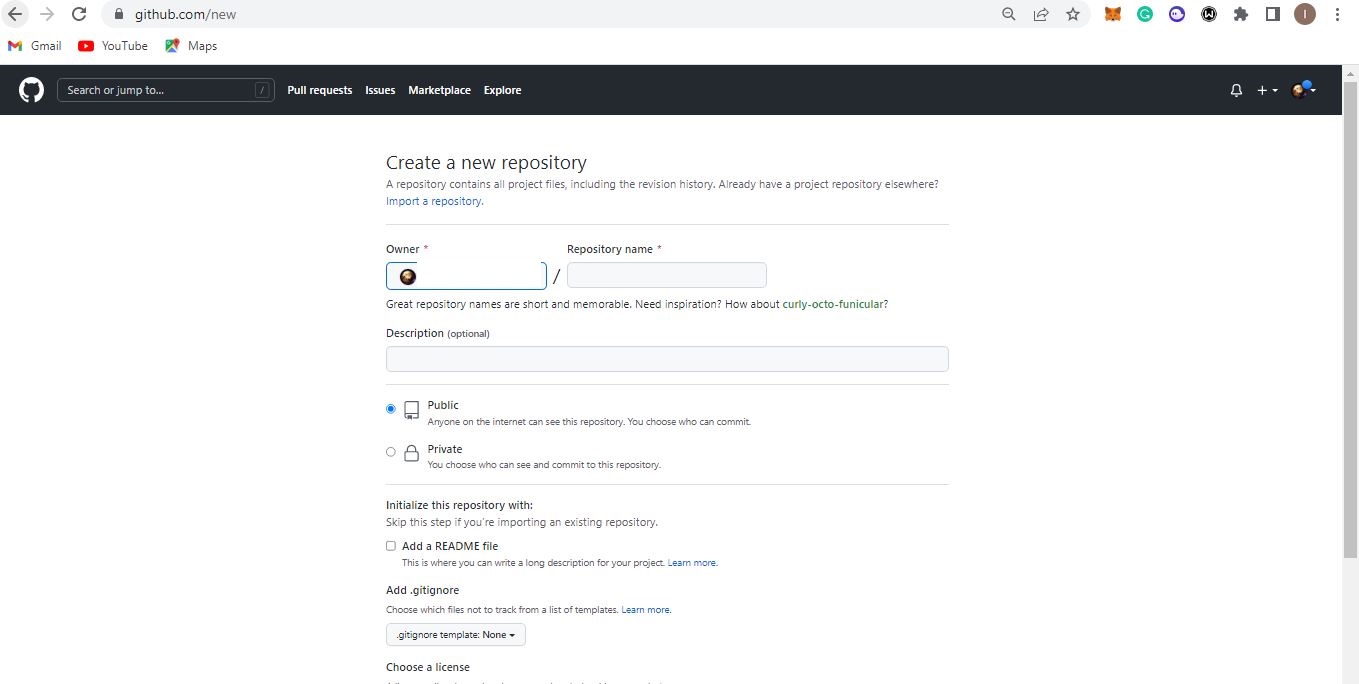
and create:
After you have created you should see this interface:
From the above, we will make use of the commands shown:
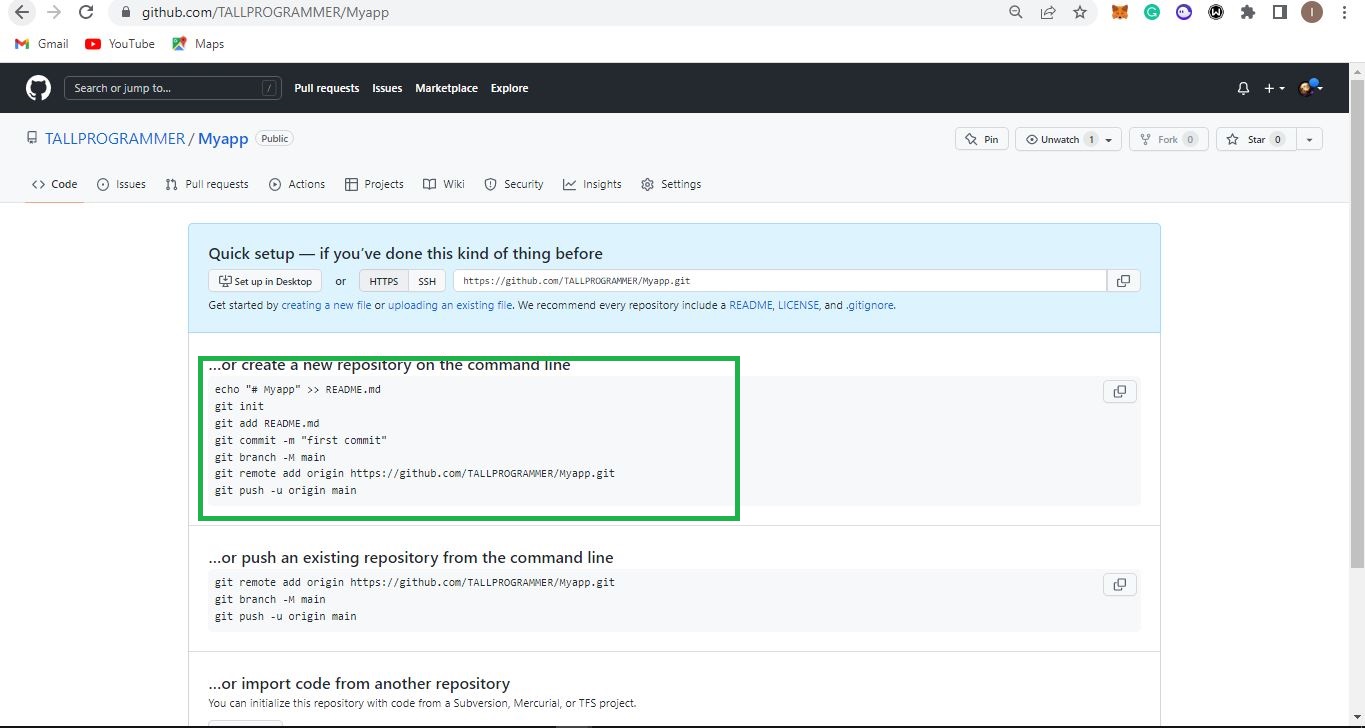
First, in your command prompt, input this command:
git init
Second, add your files to the local Git:
git add .
Third, commit all changes:
git commit -m "first commit"
Fourth, link your repository using your URL:
git remote add origin https://github.com/TALLPROGRAMMER/Myapp.git
Finally, push all changes:
git push -- set-upstream origin master
If you followed this correctly, you should get this:

Please note that before initiating the git command on your prompt, you must do it in your app folder directory.
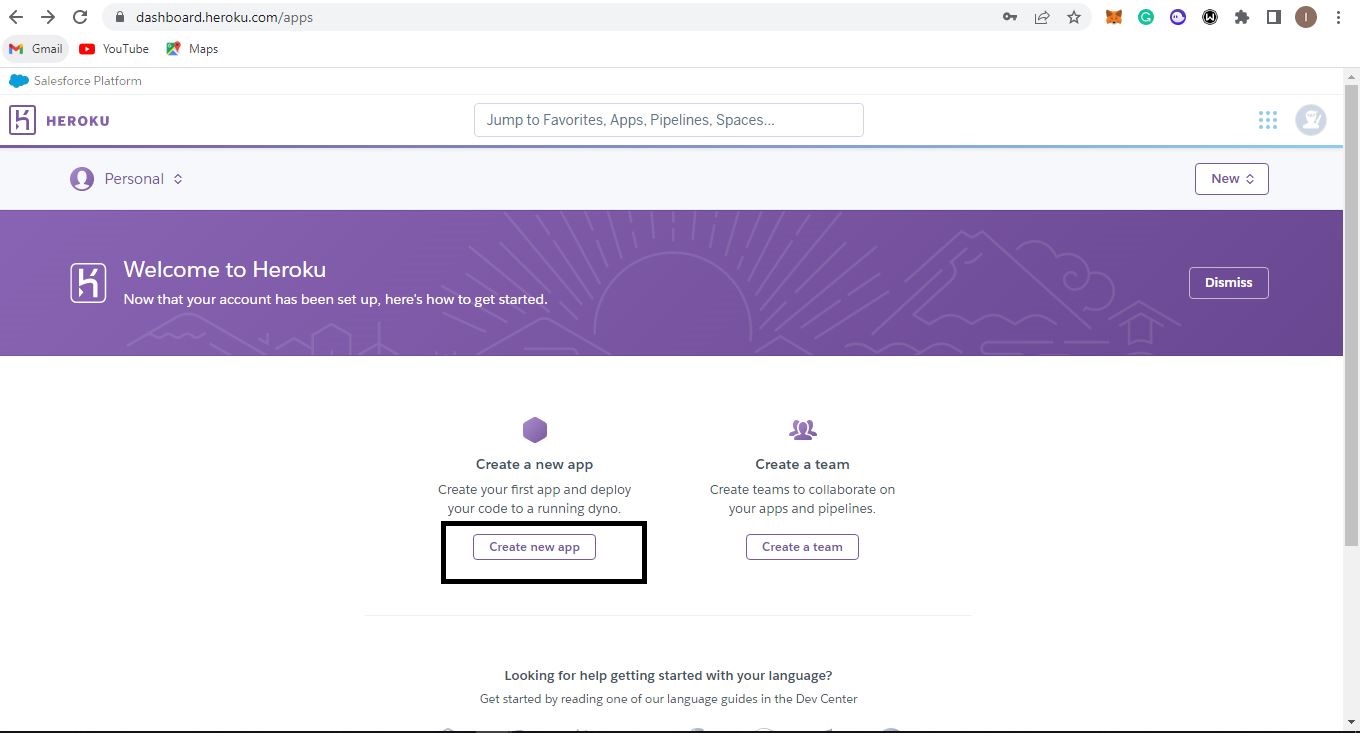
Step 3: Deploying to Heroku
Now that the code has been pushed to Github, it's time to deploy on Heroku. Since you already have an account and have chosen node.js as your build pack.
On your dashboard you will see different tabs, click on create new app :
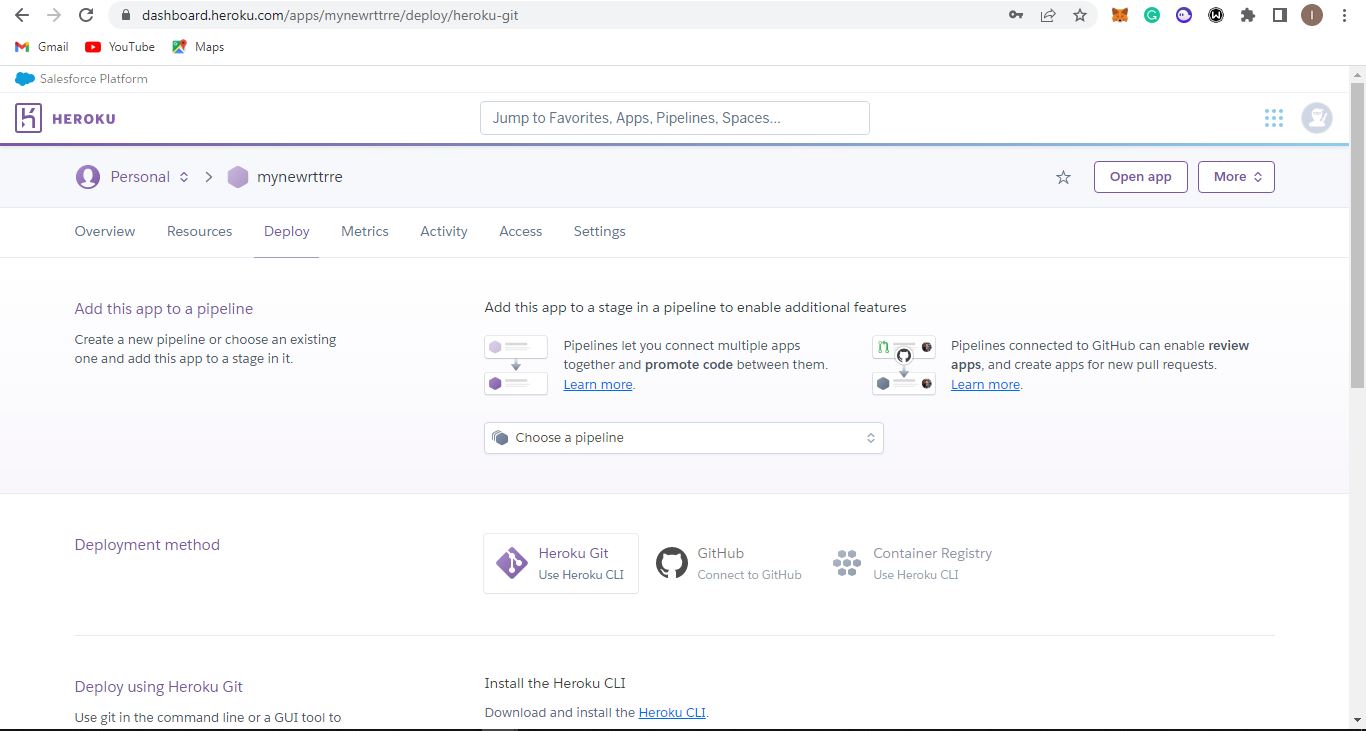
After you have done so, you should get this. Choose a name for your app and create:

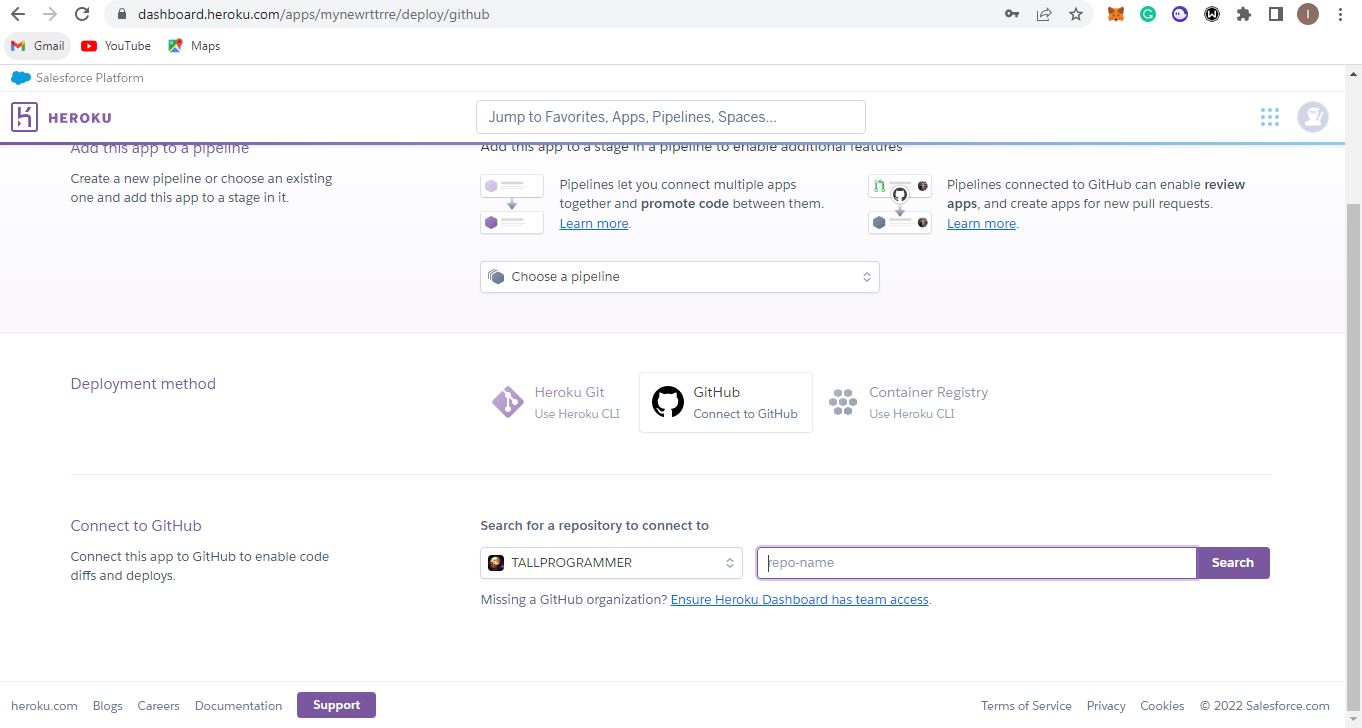
When done, you should have this on your screen, go to deployment method and choose Github. Click on it and authorize it.
Next, you should choose the name of your app's repository:
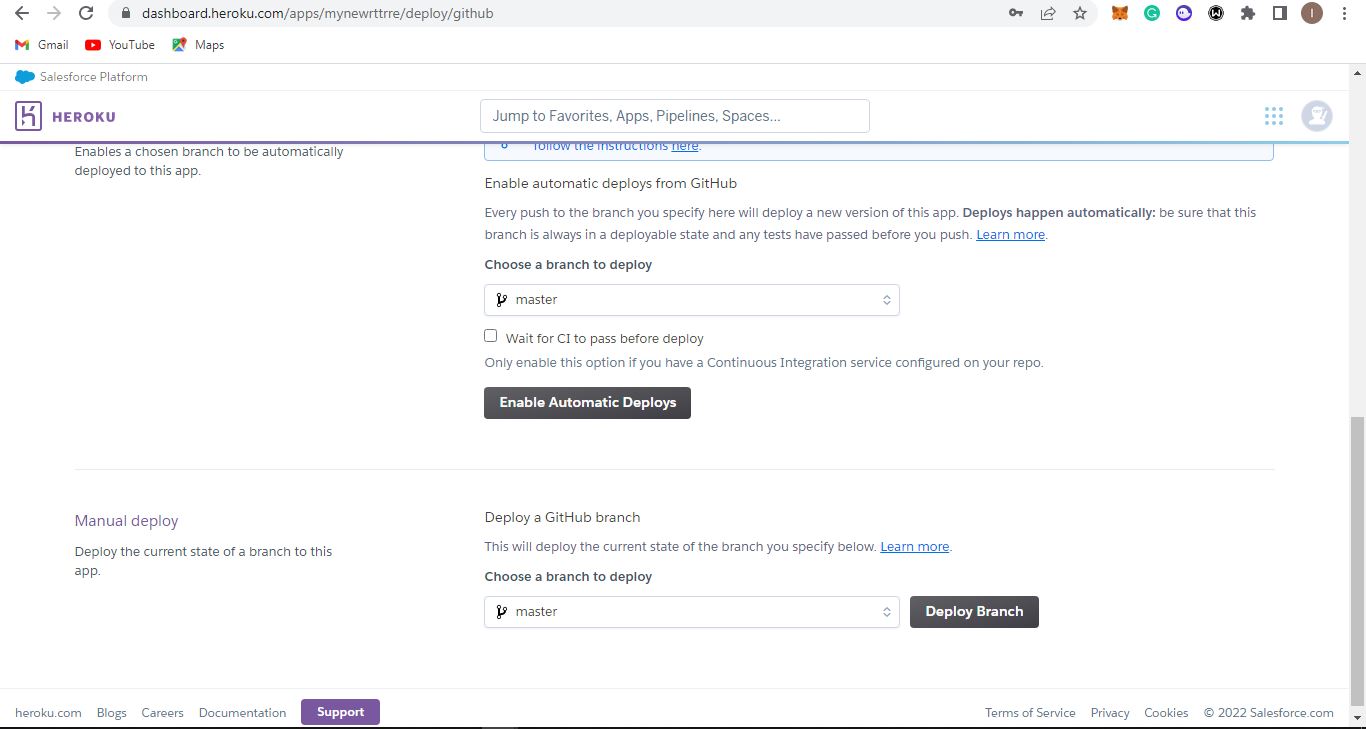
After that has been done, you should enable automatic deploys and deploy branch(master):
Wait a minute or two after you have deployed, and click on the open app tab at the top right of your dashboard:
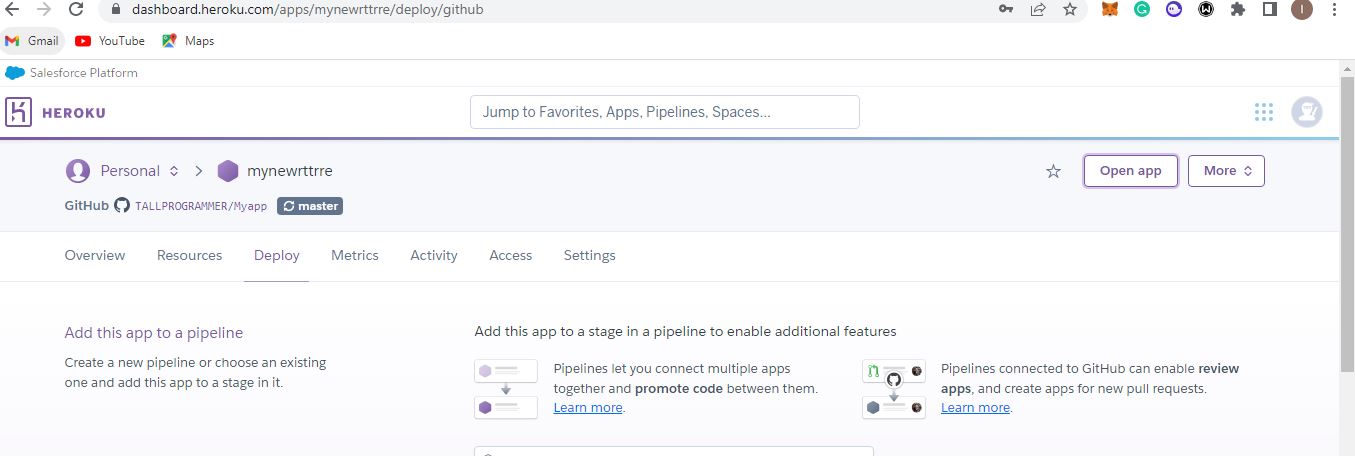
Congratulations! It should load your app hosted on the Heroku cloud.

